
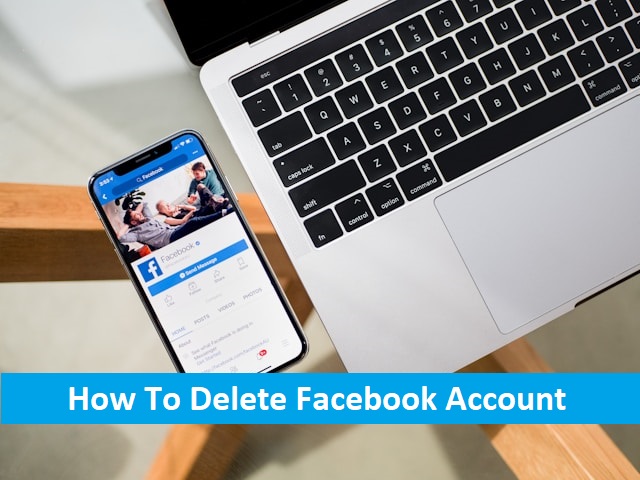
In an age where digital privacy is increasingly important, many users are reconsidering their presence on social media platforms like Facebook. If you’re contemplating how to delete your Facebook account, whether to protect your privacy, reduce screen time, or simply move on from social media, this comprehensive guide will walk you through the process. This article is designed to help you understand your options, ensure that your data is handled appropriately, and take the final steps toward deleting your Facebook account permanently.
Why You Might Consider Deleting Your Facebook Account
Before diving into the “how,” it’s important to address the “why.” Understanding your intent will guide you in choosing the right approach to manage your Facebook account:
- Privacy Concerns: With increasing concerns about data privacy and Facebook’s handling of user information, many people are opting to leave the platform.
- Reducing Digital Footprint: Some users want to minimize their online presence and remove old social media profiles that they no longer use.
- Mental Health: Social media can contribute to anxiety, stress, and comparison culture, leading some to choose a Facebook-free lifestyle.
- Time Management: Reducing time spent on social media can lead to more productive and fulfilling activities.
Steps to Delete Your Facebook Account Permanently
If you’ve made the decision to delete your Facebook account, follow these steps carefully to ensure that your data is removed and your account is closed permanently.
Step 1: Backup Your Facebook Data
Before you delete your Facebook account, it’s wise to download a copy of your data. This backup includes photos, posts, messages, and other personal information that you might want to keep:
- Log in to Your Facebook Account: Go to your account settings by clicking the downward arrow in the top-right corner of the screen.
- Navigate to Settings & Privacy: Click on “Settings & Privacy,” then select “Settings.”
- Download Your Information: In the left-hand menu, click on “Your Facebook Information” and then “Download Your Information.”
- Select the Data to Download: Choose the data range, format, and media quality you prefer. Click “Create File.”
- Wait for the Download: Facebook will notify you when your file is ready to download, which may take a few minutes to several hours, depending on how much data you have.
Step 2: Decide Between Deactivation and Deletion
Facebook offers two options: deactivation and deletion. It’s important to understand the difference:
- Deactivation: Temporarily disable your account, making your profile invisible to others. You can reactivate your account anytime by logging back in. This is ideal if you want a break from Facebook but might return in the future.
- Deletion: Permanently removes your account and all associated data. Once deleted, you cannot recover your account or its content.
For users who are certain about leaving Facebook permanently, proceed with deletion.
Step 3: Delete Your Facebook Account
To permanently delete your account:
- Access Account Settings: Log in to your Facebook account and go to “Settings & Privacy” > “Settings.”
- Find the Deletion Option: In the left-hand menu, click on “Your Facebook Information” and select “Deactivation and Deletion.”
- Choose “Delete Account”: Select “Permanently Delete Account” and click “Continue to Account Deletion.”
- Confirm Your Decision: Facebook will ask you to confirm your decision. You may be prompted to enter your password and complete a CAPTCHA.
- Click on “Delete Account”: Once confirmed, click on “Delete Account” to finalize the process.
Step 4: Post-Deletion Considerations
After you delete your Facebook account, Facebook allows a 30-day grace period in case you change your mind. During this period, your account remains deactivated, and you can cancel the deletion by logging back in and selecting the “Cancel Deletion” option.
Once the 30 days are over, your account and all associated data will be permanently deleted, and you will not be able to retrieve any information.
What Happens After Deleting Your Facebook Account?
After your account is deleted:
- Data Removal: Facebook will begin the process of removing your data from its servers. This may take up to 90 days, although your account will no longer be accessible during this time.
- Third-Party Apps: Any accounts or services that you’ve logged into using Facebook may also be affected, so make sure to unlink or set up alternative logins before deletion.
- Messages Sent to Others: Messages you’ve sent to other users may still be visible to them, even after your account is deleted.
Conclusion:
Deleting your Facebook account is a significant step in taking control of your digital life. Whether driven by privacy concerns, a desire to reduce screen time, or a shift in priorities, this guide has provided you with the necessary steps to make an informed decision.
If you’re ready to move on from Facebook, follow the steps outlined above to ensure a smooth transition. Remember, the decision to delete your Facebook account should be based on your personal needs and goals, and this guide is here to support you in making the choice that’s right for you.